- General Farm Hardware
- Fencing
- Equine / Horse Gear
- Livestock Equipment
- Animal Supplies
- Bosag Rural
- DIY Building Hardware
- Popular Products
- Rural Accessories
- Specials
- TOOLS
- TRADE BUSINESS
- Work Wear
- CLEARANCE
- Clearance Items

Date Posted:23 February 2026
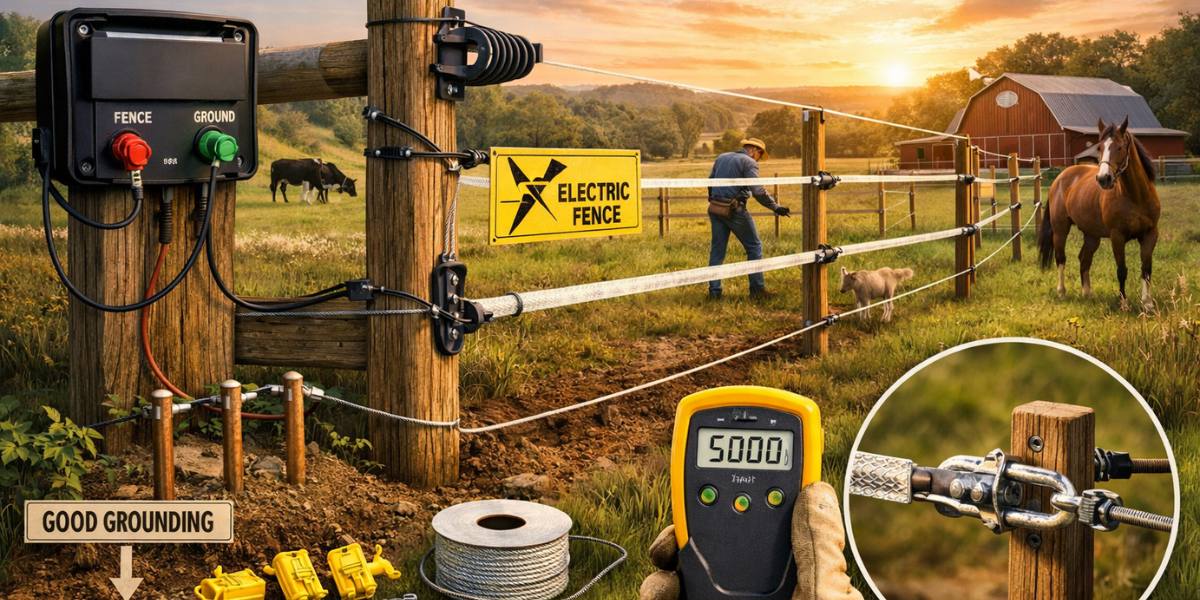
Why Every Livestock Owner Needs a Proper Electric Fence
If you're tired of escape-artist animals, predator threats, and the back-breaking cost of traditional fencing, you've found the right guide. Setting up an electric fence is the modern, cost-effective, and highly effective solution for farmers and homesteaders. But here’s the harsh truth: a poorly installed fence is worse than no fence at all. It becomes a money pit, a safety hazard, and a constant source of frustration when your livestock learn it doesn’t pack a punch.
This isn't just about stringing up a wire. It's about engineering a psychological barrier that keeps your animals safe and contained with minimal effort. Whether you're managing cattle, protecting horses, or corralling clever goats, this definitive guide will walk you through how to set up an electric fence the right way—from planning and purchasing to final testing and maintenance.
Before you touch a single post, you must gather the right components. Attempting an electric fence installation without the proper supplies is the #1 reason for failure. Here is your non-negotiable shopping list.
Selecting the energizer is the most critical decision. An undersized charger is a waste of money. Size is measured in joules of output energy. More joules mean more power to overcome vegetation and maintain a strong shock over long distances.
Here's a simple formula:
(Total Fence Length in Miles x 1) + (Number of Wire Strands) = Minimum Joule Rating
For example, a 2-mile fence with 4 strands needs at least a 6-joule energizer (2 + 4).
https://www.canr.msu.edu/resources/considerations-for-selecting-installing-an-electric-fence-charger
The conductor is your animal's point of contact. Choose based on visibility, durability, and purpose.
Map your fence line. Identify corners, ends, and gate locations. Order 10% more materials than you calculate. Plan gate openings where you need regular access.
These posts bear all the tension. They must be incredibly strong.
Spacing depends on your wire type and terrain.
This step is where most failures happen.
Use a digital tester.
Common causes:
Costs depend on size and material.
You now have the complete blueprint for a successful electric fence installation. If you follow the steps above, you’ll build a fence that works reliably for years and keeps your livestock safe. Contact us today!